Hello again!
In this post I would like to show you my results of an experiment I did half a year ago but never found the time to do a proper write up. While digging around the internet, reading about molecular gastronomy and food hacking, I found an interesting technique called vacuum infusion.
Infusion
So what is infusion? According to Wikipedia in the culinary sense an infusion is the process of extracting a flavour or some other chemical compound from a plant part into a liquid. A simple example would be a tea. You put the tea leaves (usually dried and chopped up) into some hot water and wait till the tea flavour has dissolved into the water. Another example would be spicy olive oil or garlic oil.
In molecular gastronomy someone found a way to put an interesting extension to that process. Instead of dissolving the flavour of a solid in a liquid somebody came up with a way to put the flavour of a liquid into a solid using a vacuum.
Vacuum Infusion
As the first ingredient, the solid, some organic material that incorporates a lot of air in its cell structure is needed. A classic ingredient that is used in most recipes is cucumber. Watermelon, apples or grapes (without the peel) are also known to work. The second ingredient is a liquid containing the desired flavour. Depending on the use-case sometimes a fruit juice like lemon juice or some form of alcohol for example Martini or gin is used.
That’s it for the ingredients. First the cucumber is peeled, put into a container and well covered in the liquid. Then the container is closed and a vacuum is pulled inside. The air built into the cells of the cucumber is pulled out by the vacuum and starts to bubble though the liquid. Once the bubbling stops the pressure is rapidly let back into the container. The air suddenly rushing in pushes against the liquid, which in turn pushes against the cucumber. All the little cavities in the cucumber that used to be filled with air are now pressure filled with the liquid.
Chefs in molecular cuisine like this technique, because it alters the appearance and the texture of the cucumber. First and foremost the cucumber takes on the taste of the used liquid. Aside from that the texture changes quite drastically. Because the cucumber took in so much liquid it is now semi-transparent and less bright green. It is a lot firmer/stiffer and offers more resistance when eaten. Also the edges look very sharp afterwards. It’s sometimes compared to the look of fish meat (but of course it has a completely different taste, which makes it so interesting).
So far so good. The catch is, in order for this technique to work a vacuum pump is necessary. And those are known to be very expensive and difficult to build yourself…
DIY Vacuum Infusion (without a vacuum pump!)
I was thinking of different ways to build a simple vacuum pump myself, but after looking into it for a while I decided it was simply to complicated and not feasible for such a fairly simple experiment. Luckily some time later I stumbled upon a blog post from Dave Arnold, a New York based chef who is known for his experimentation, where he describes two techniques to do vacuum infusion at home.
All that is needed for that is a vacuum vine stopper. For those who don’t know, a vacuum vine stopper is a small rubber vine bottle stopper with a built in valve that comes with a pump. If you are done with half a bottle and want to save it for later (I know weird, right?!) you can put the stopper in and use the little hand pump to pull all the air out of the bottle to conserve the flavour or something. Anyway incidentally this contraption is fairly cheap and works perfectly for making vacuum infusions!
So lets get on with it. You will need:
- A (clear) glass bottle
- A vacuum vine stopper + pump
- A cucumber
- Some lemon juice
- Some pins/paperclips

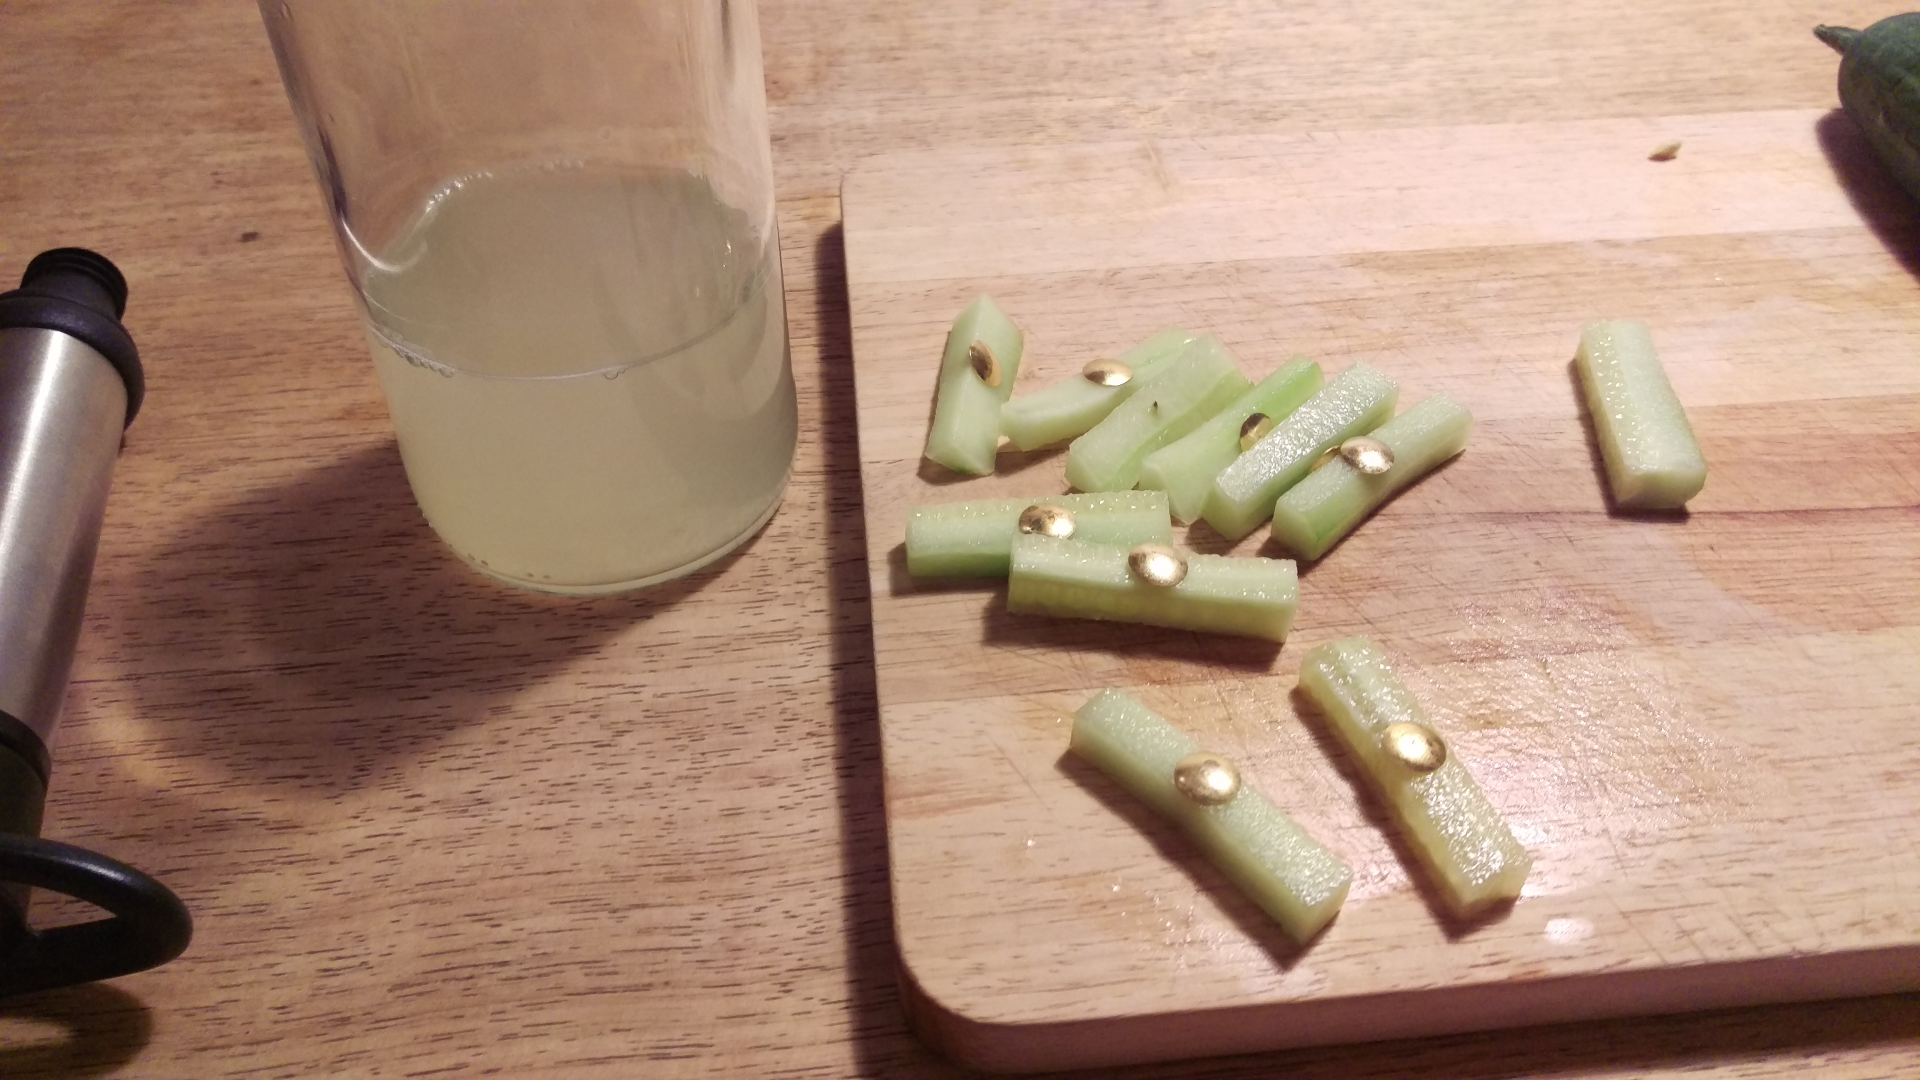
First peel the cucumber and cut it in small slices that will fit through the bottle opening. Fill the lemon juice into the bottle. Make sure to only fill the bottle to about a third so there is enough air to evacuate and later push. The technique works best when the cucumber is not floating at the surface and is fully surrounded by the juice. Since the cucumber carries a lot of air it tends to float to the surface. In order to make it sink I put some pins in them. Paperclips would also work.
Once the cucumber pieces are prepared they are filled into the bottle. The plastic stopper containing the valve is put in and the pump is used to start pumping the air out. While removing the air from the bottle bubbles will start to form on the surface of the cucumber, making them rise to the surface again. A gentle shaking of the bottle from time to time can help to get rid of the bubbles.
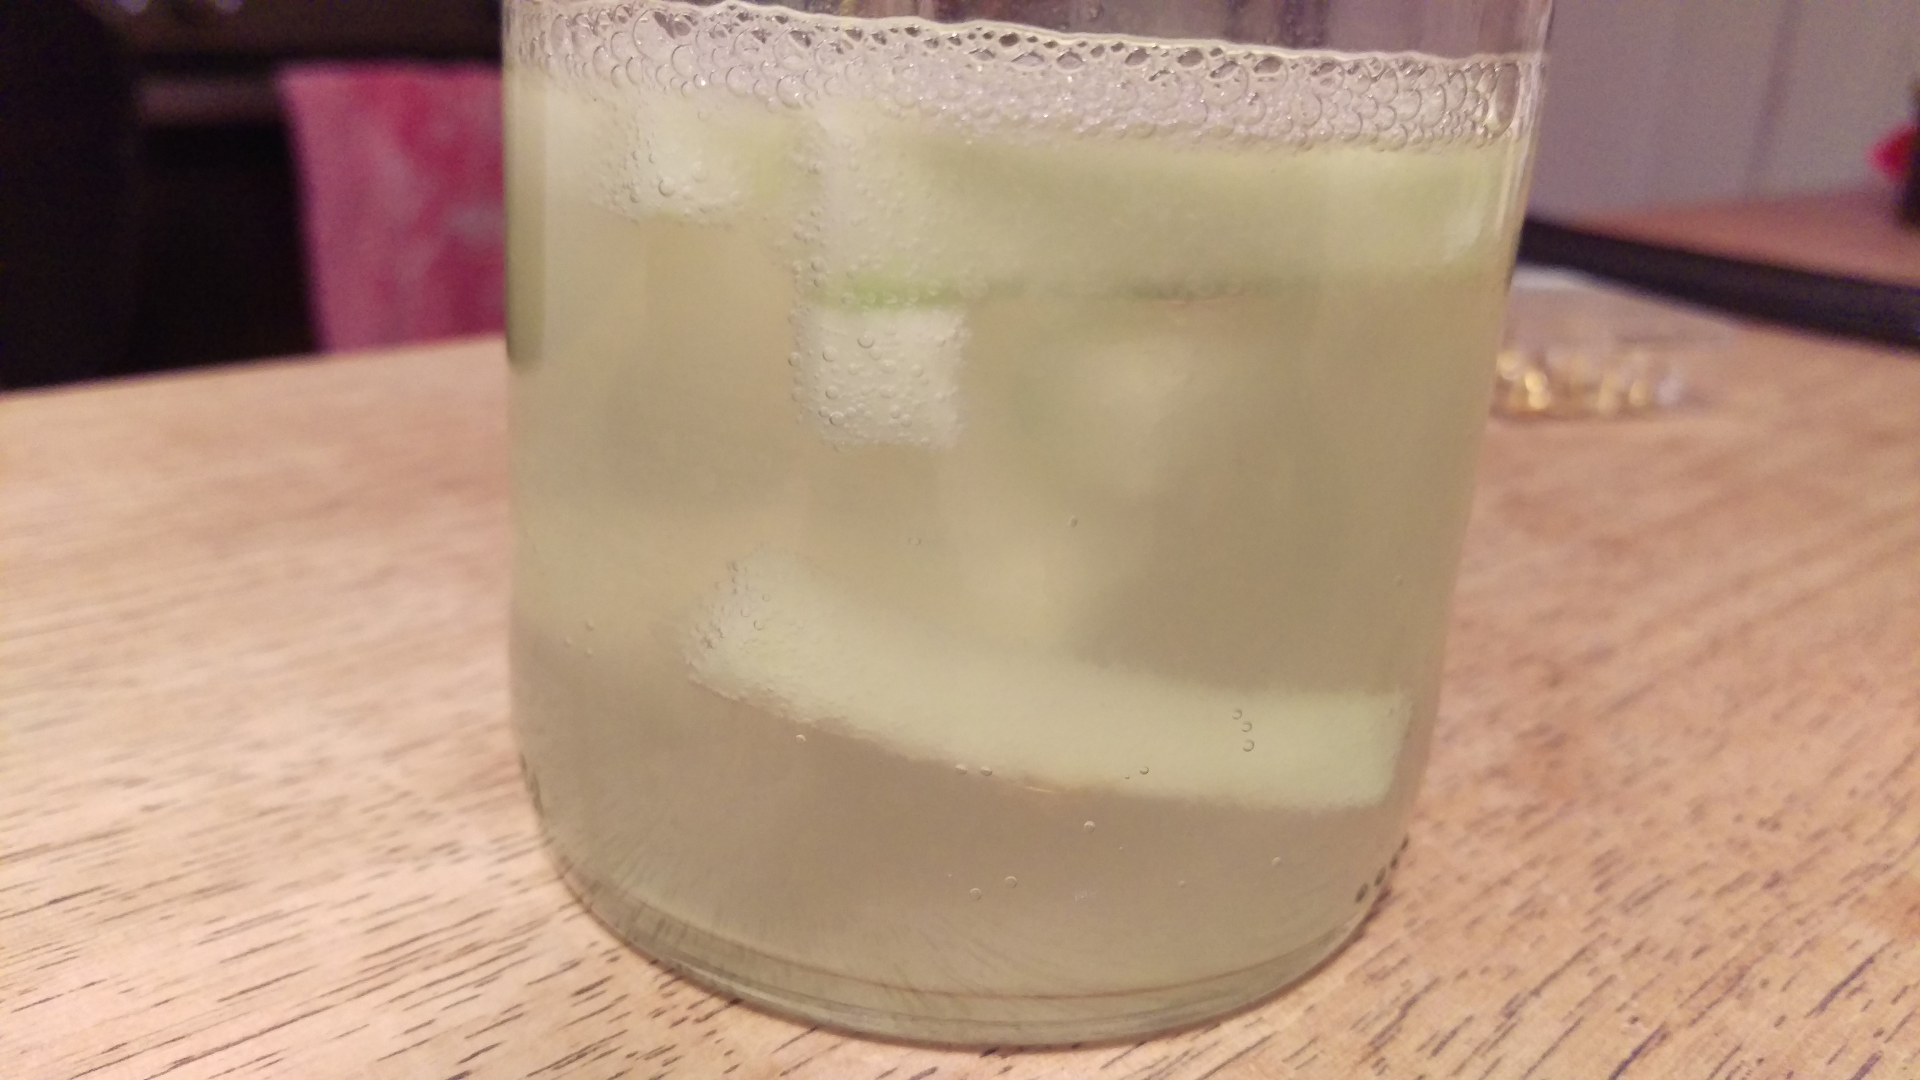
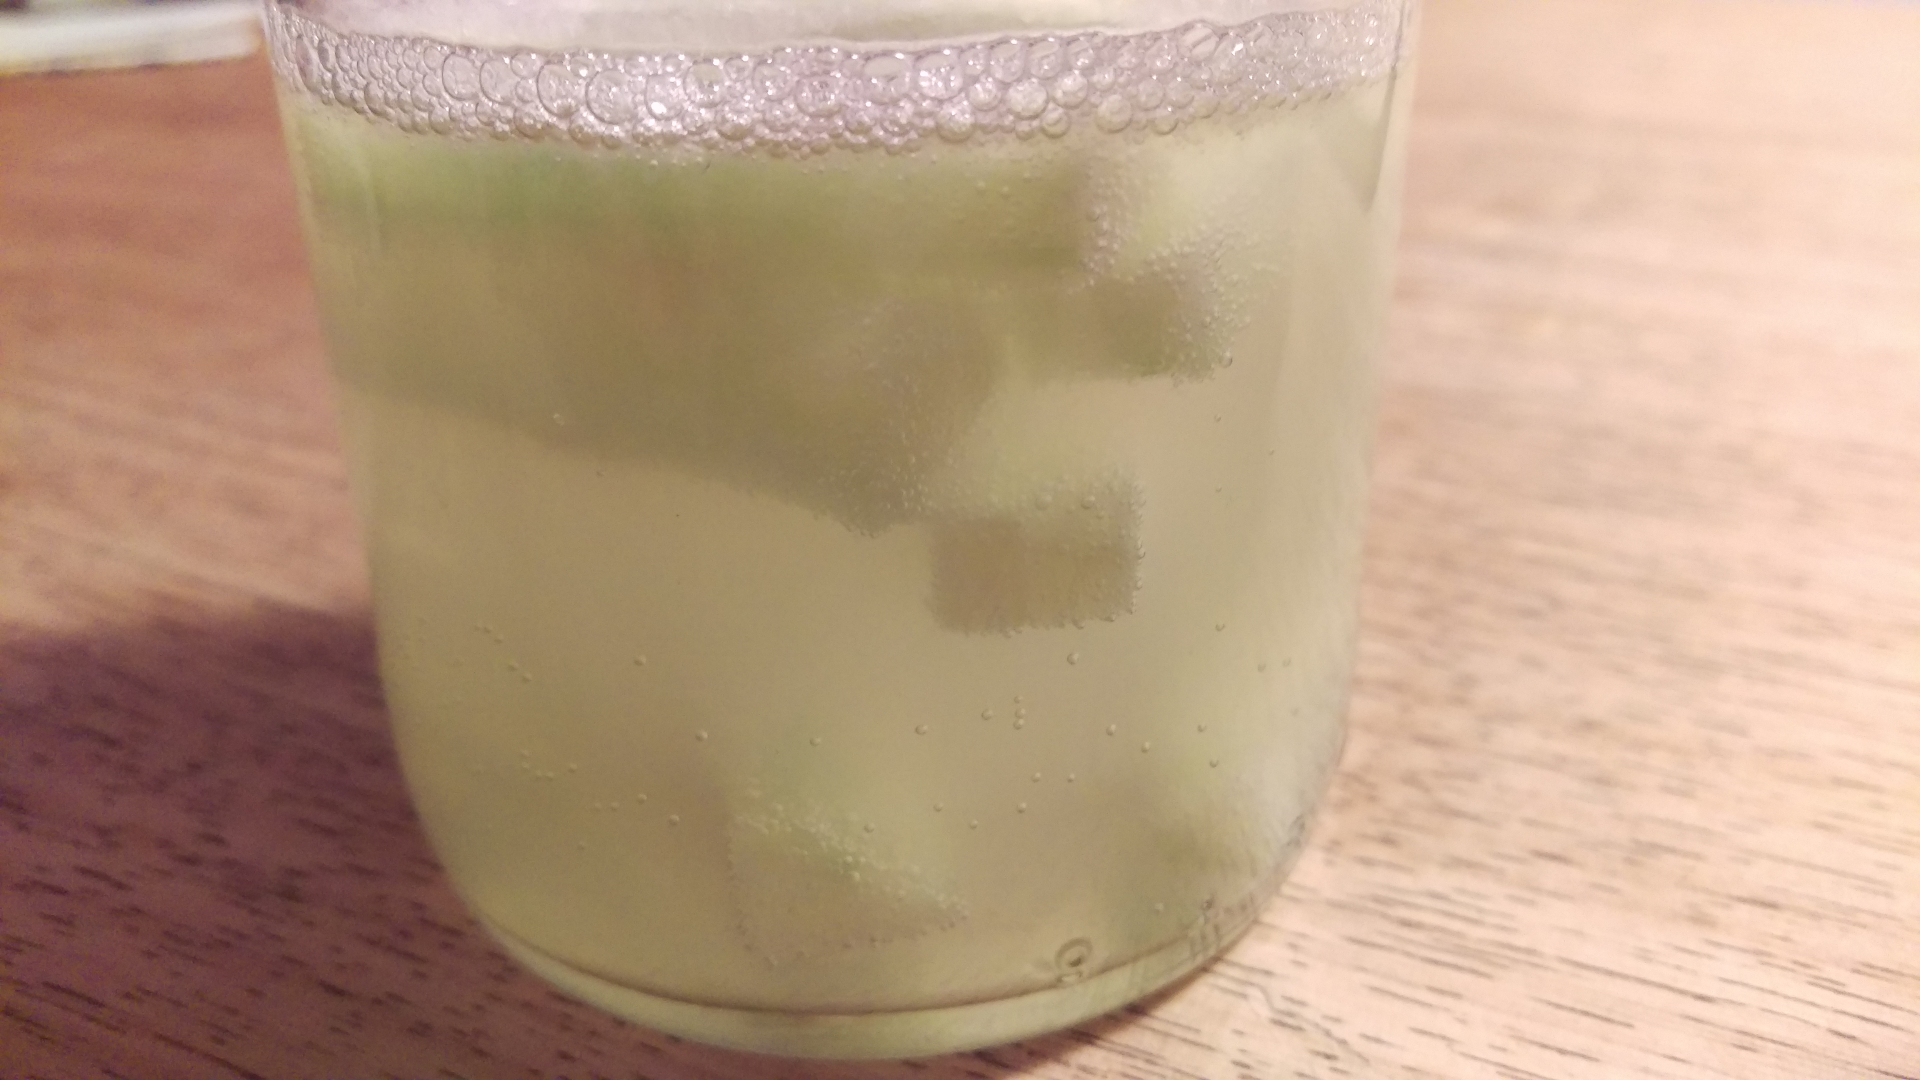
After you got rid of all the bubbles and can’t pull any more air out simply open the little valve in the stopper. With a loud whoosh all the air will rush back into the bottle. The cucumber will seem to collapse in on itself, turn transparent and sink to the bottom. All that happens very quickly.
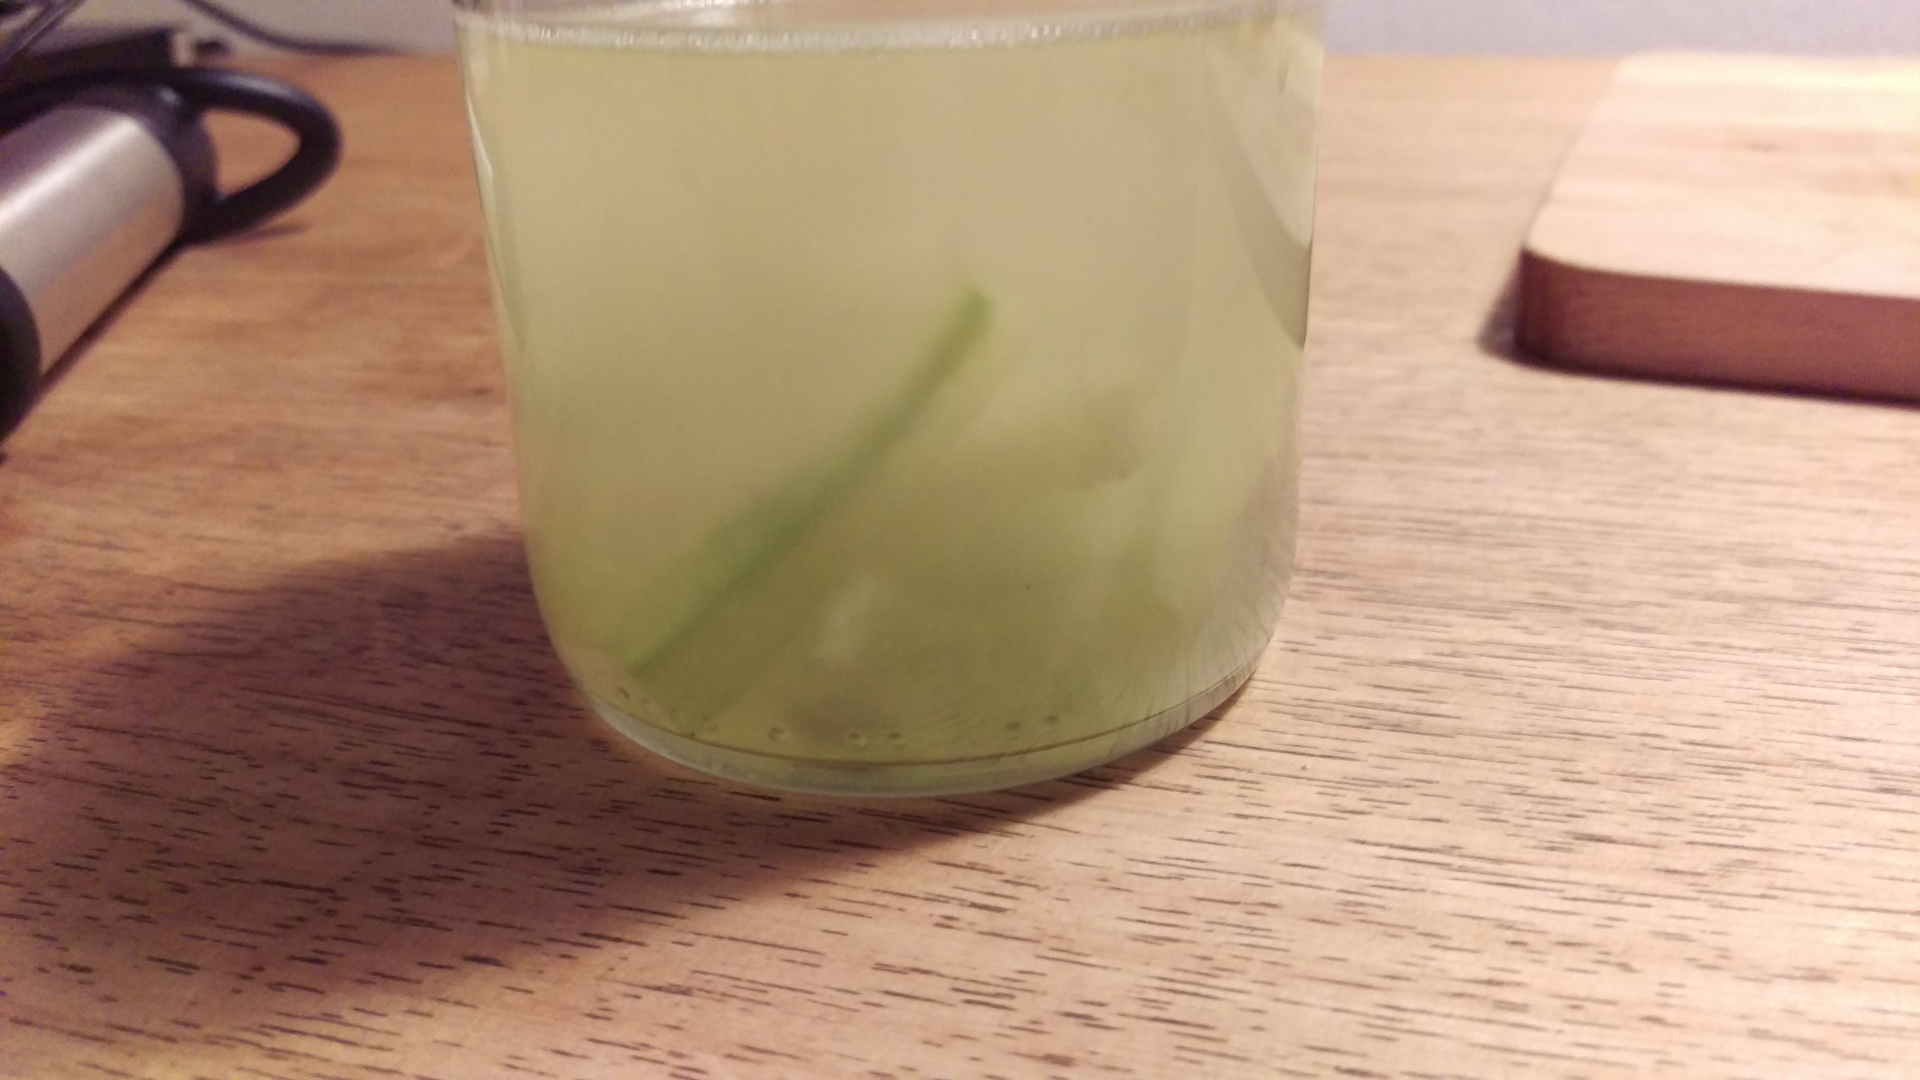
Now remove the cucumber pieces from the bottle and you’re done! And that’s how you do vacuum infusion at home without a vacuum machine! The pieces feel firm and look smooth and shiny. When eaten they are tougher than normal cucumber and they taste deliciously like lemon.

So that’s it. This technique is quite simple and versatile. It’s also a lot of fun to just play with vacuums in combination with food. I am sure there are a lot more tasty and fun recipes using this technique. If you come up with one or had fun replicating this one, send me a picture and let me know on Twitter.
Grasovka Recipe [Added 13.10.2017]
While writing this article a friend of mine and me came up with a recipe that we tried and that turned out great. This time we used apples to be infused.
- Apple
- Apple juice
- Żubrówka vodka (Grasovka in our case)
- A little bit of lemon juice
- Brown cane sugar
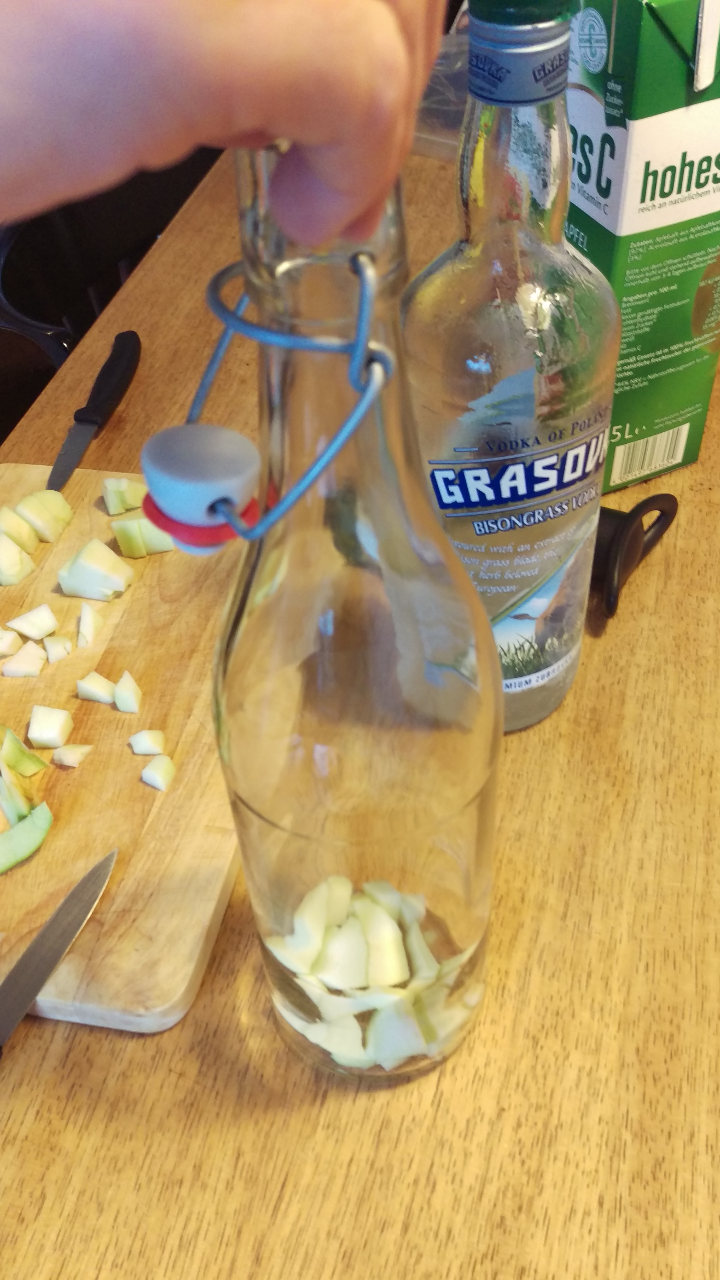
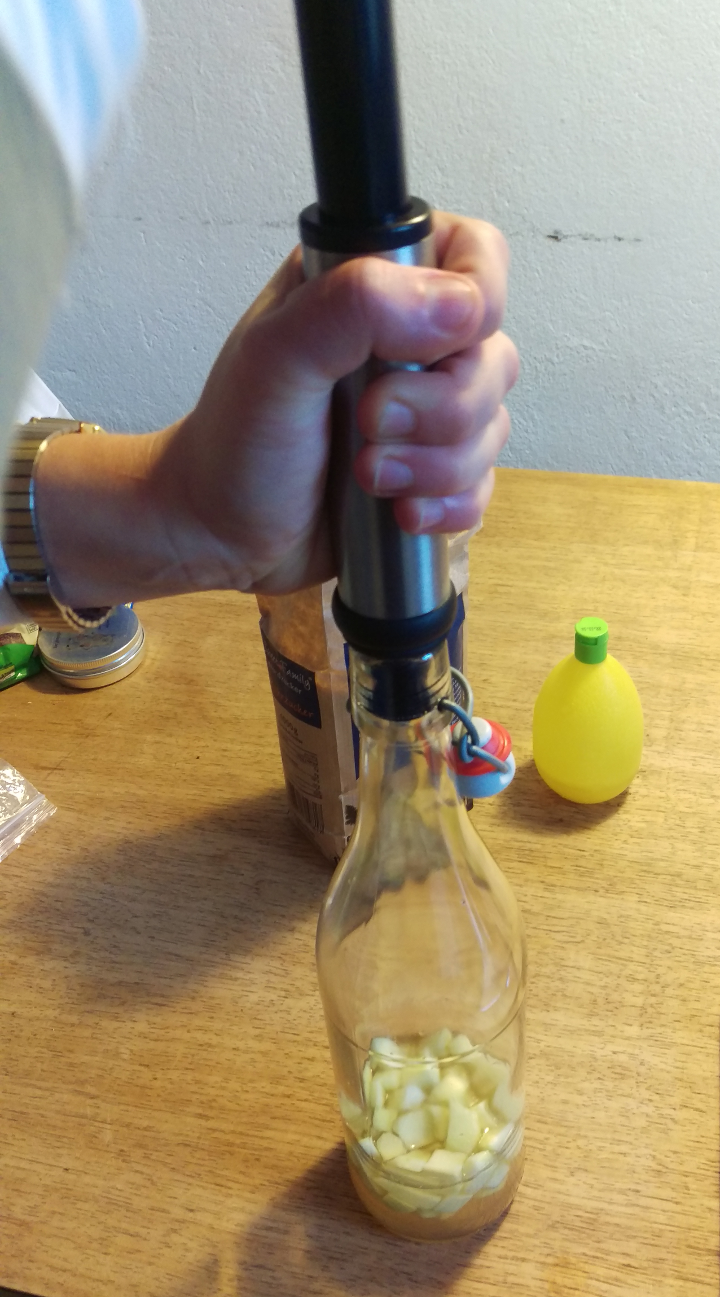
The recipe is pretty much the same as described above. First we cut the apples in little cubes so they would fit through the bottle opening. Then we prepared about 120 mL of liquid by mixing the apple juice and vodka about 70% to 30% and adding 3 squeezes of lemon juice as well as 2 table spoons of brown cane sugar. The lemon juice was added to keep the apples from turning brown and to make them a bit more sour.
 |
 |
|---|---|
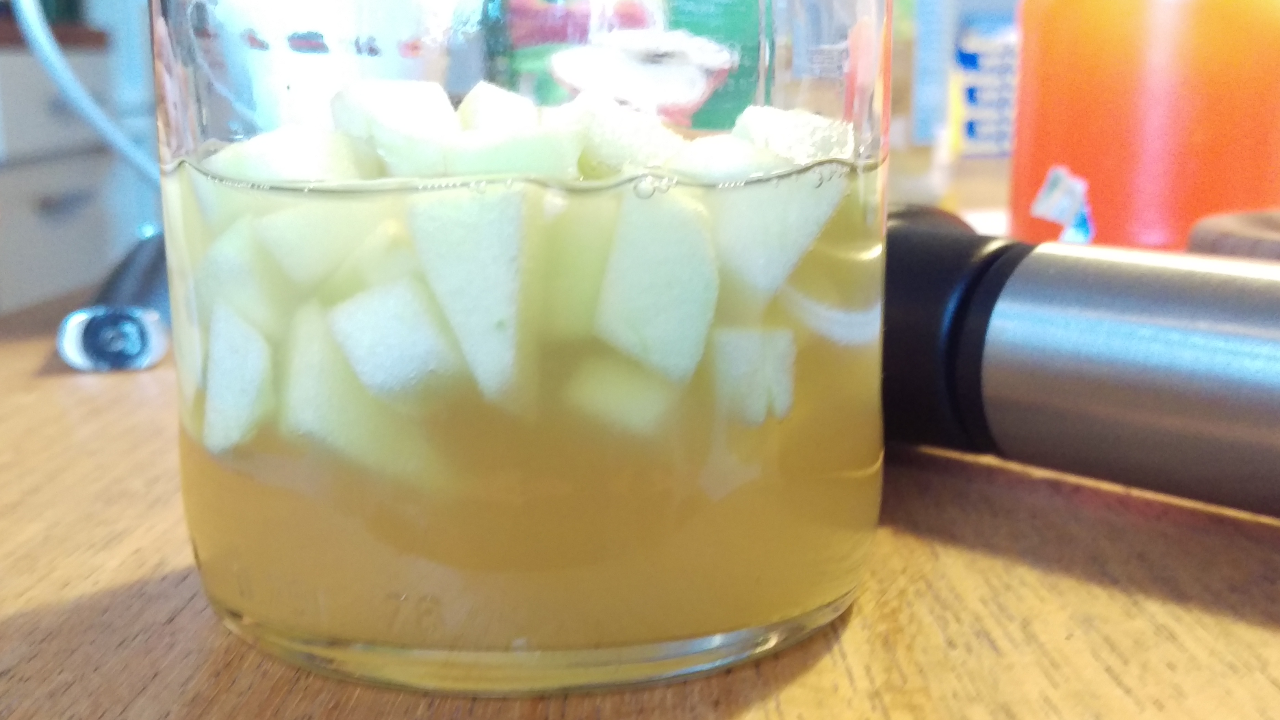
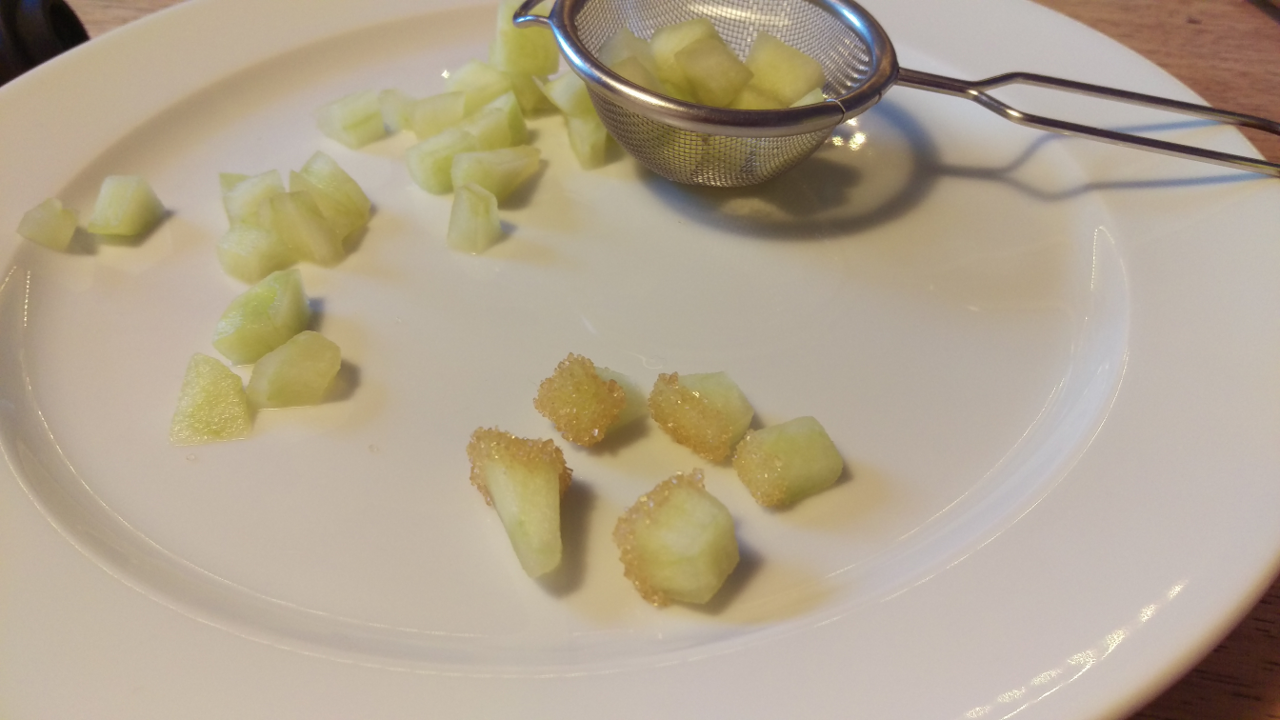
After pumping the air out and letting it back in we ended up with tasty vodka infused apples. When first eating them the apples have a very nice sour apple taste which then transforms into a slight taste of vodka. It’s fun to notice the flavour change while you eat the apple. In a future experiment malic acid (the acid that makes apples sour) could be used instead of citric acid (lemon juice) to give the apples even more of a sour apple taste.
The apple cubes are quite tasty to eat, but they do get you drunk ;) They taste especially good, when dipped in cane sugar. You can also put them in your drink as a garnish. We froze the left over apple cubes into some ice cubes, so that they first cool your drink and then taste good when eaten. Freezing them into ice cubes also makes them last for a while.
